Easy Mochiko Sweet Rice Flour Recipe for Soft, Chewy Butter Mochi
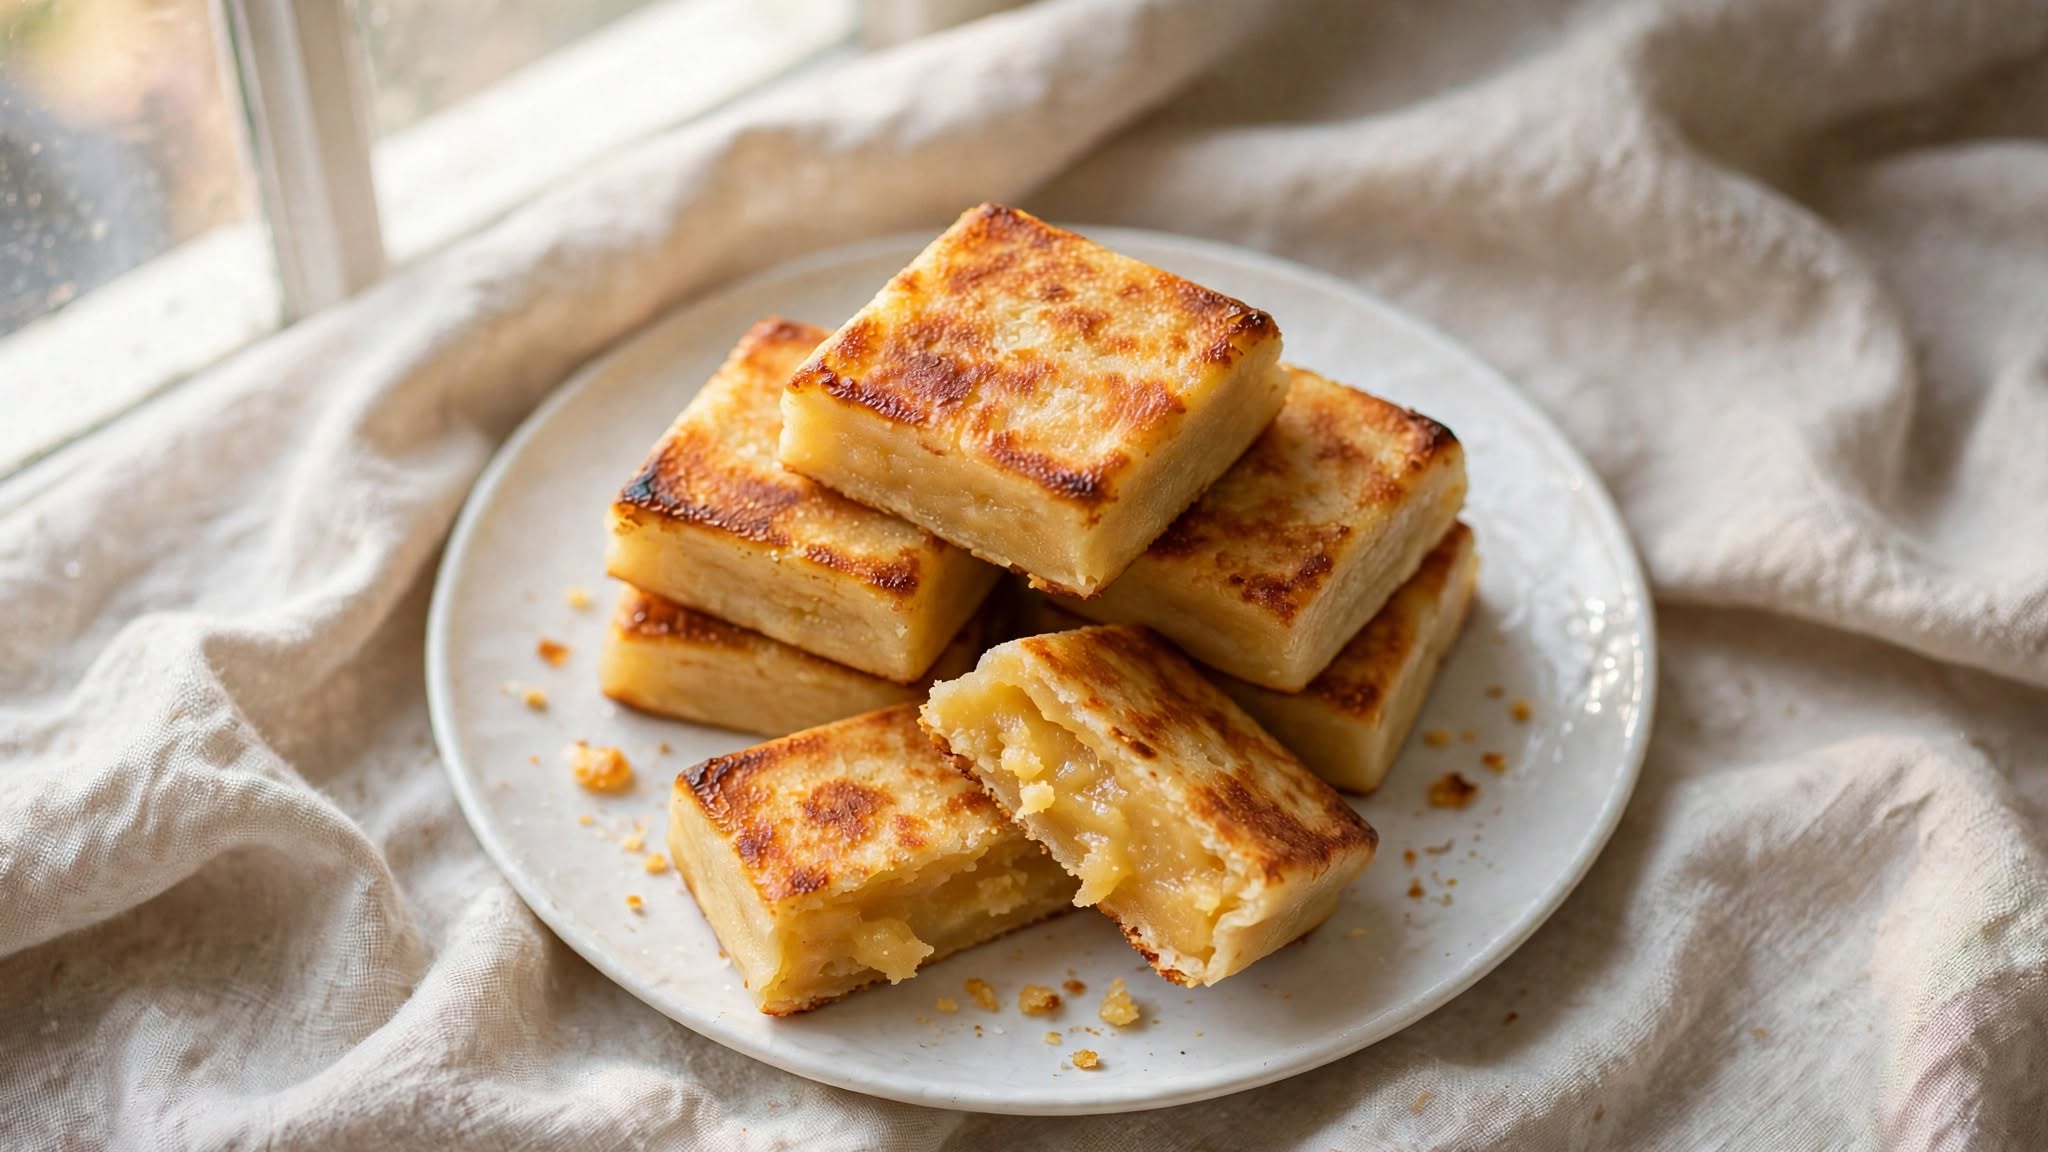
This mochiko sweet rice flour recipe turns one bag of glutinous rice flour into butter mochi, a soft, bouncy, coconut-scented bake with crackly golden edges. You stir everything in one bowl, pour it into a pan, and bake for about an hour. No steaming, no pounding, no special equipment.
I first made it for a potluck when I had half a bag of mochiko left over and no plan. The pan came back empty, and three people asked for the recipe. Since then I have baked it for birthdays, school bake sales, and plain Tuesday cravings, tweaking the sugar and bake time until the texture was exactly right.
Recipe Snapshot
- Prep time: 10 minutes
- Cook time: 60 minutes
- Total time: 1 hour 10 minutes, plus 1 hour to cool
- Servings: 24 squares
- Difficulty: Easy, beginner friendly
Why You’ll Love This Recipe
- One bowl, one whisk. This mochiko sweet rice flour recipe skips the mixer and the steamer, so cleanup is quick.
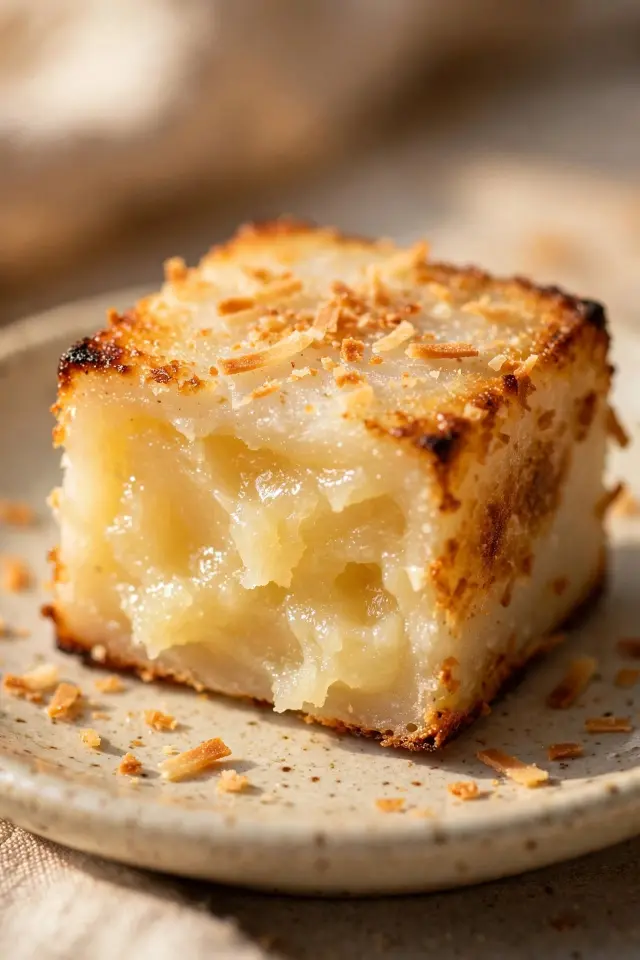
- Crackly, caramelized edges with a bouncy, chewy center. It is the corner piece everyone fights over.
- Pantry friendly: mochiko, eggs, sugar, butter, and two kinds of milk. Right at home next to your other [Ground Beef Crockpot Recipes].
- Made with rice flour instead of wheat, so there is no gluten from the flour itself.
- Feeds a crowd. One pan makes 24 squares that travel well.
Ingredients
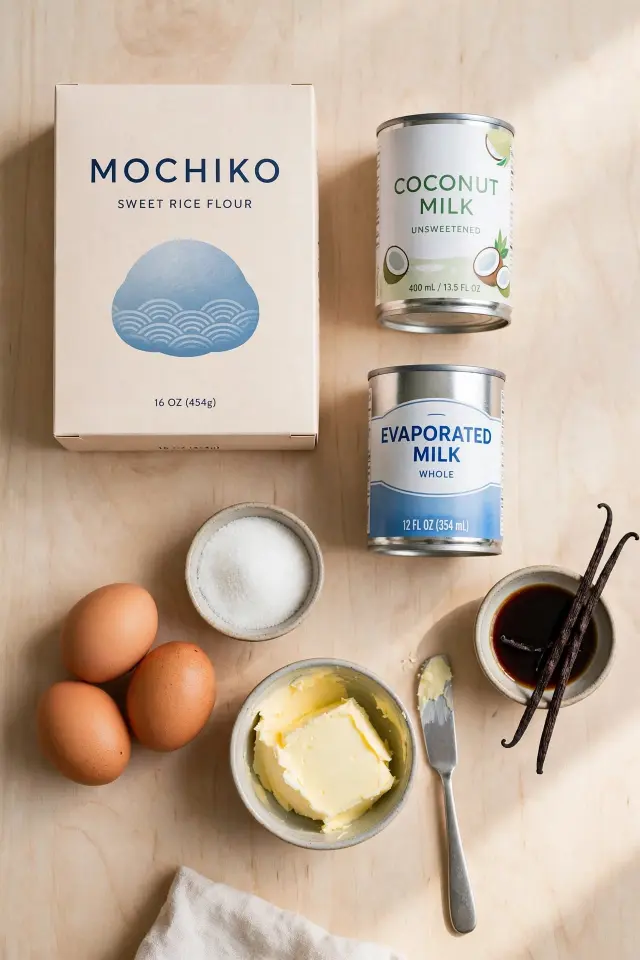
Every good mochiko sweet rice flour recipe starts with the right flour, so let’s start there.
Is mochiko the same as regular rice flour?
No. Mochiko is made from short grain glutinous rice, which is rich in a sticky starch called amylopectin. That starch gives butter mochi its bouncy chew. Regular rice flour bakes up crumbly and sandy, so please do not swap them. Look for a bag labeled mochiko or sweet rice flour. I reach for the Koda Farms blue box.
Substitutions and Notes
- Evaporated milk: whole milk works, though the squares come out a little less rich.
- Coconut milk: stay with full fat. Light versions bake up thin and flat in flavor. Want more coconut? Browse our [Guatemalan Rice Recipe].
- Butter: a neutral oil works in equal amounts.
- Less sweet: drop the sugar to 1 1/2 cups. If you tweak this mochiko sweet rice flour recipe, change only the sugar and leave the liquids alone.
Step-by-Step Instructions
This recipe is forgiving, but a few small habits make the texture better.
- Heat the oven to 350°F (175°C) and set a rack in the center.
- Butter a 9 by 13 inch metal baking pan, getting into the corners so the edges release cleanly.
- Whisk the mochiko, sugar, baking powder, and salt in a large bowl. Mochiko clumps in the bag, so press out any lumps now.
- Add the eggs and whisk until the mixture looks like a thick, smooth paste.
- Pour in the evaporated milk, a little at a time, whisking as you go. This keeps the batter lump free.
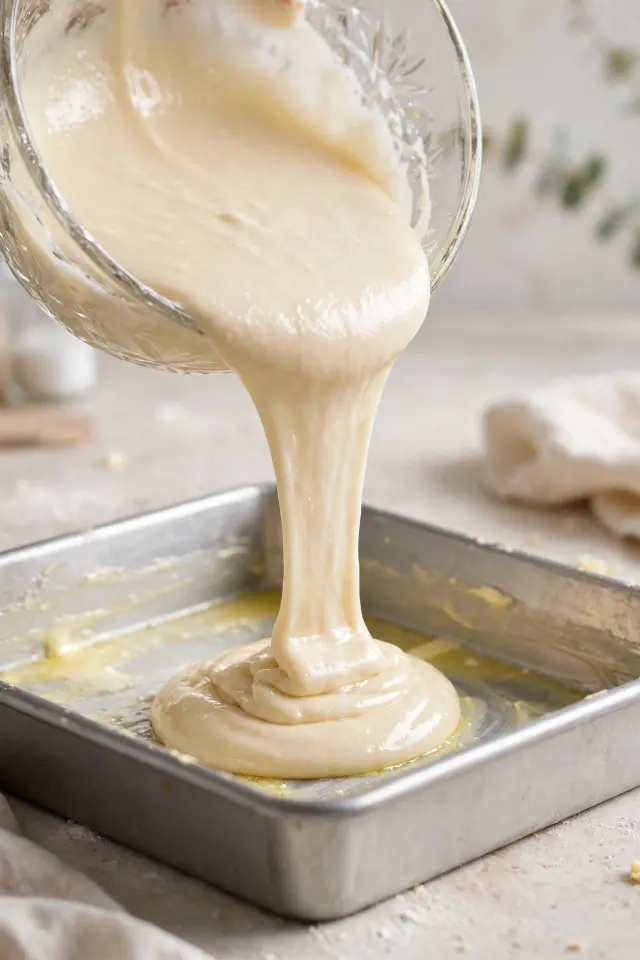
- Whisk in the coconut milk and vanilla until the batter is thin and pourable, a bit like crepe batter.
- Stream in the melted butter, cooled for a few minutes first so it will not cook the eggs, and whisk until glossy.
- Let the batter rest for 5 minutes, then give it one last stir.
- Pour the batter into the pan and tap it on the counter to pop air bubbles.
- Sprinkle the shredded coconut over the top, if using.
- Bake for 55 to 65 minutes, until the top is deep golden brown.
- Cool the pan on a wire rack for at least 1 hour before cutting.
How do you know when butter mochi is done?
Look for dark golden edges pulling away from the pan, a browned top, and a toothpick that comes out with no wet batter. A few sticky crumbs are fine. Mochi is sticky by nature. If the center still jiggles, give it another 5 minutes.
Pro Tips for Soft, Chewy Butter Mochi
- Be patient with the knife. Warm mochi is sticky and tears. Once fully cool, cut with a plastic knife or a lightly oiled bench scraper for neat squares. These are often the first thing to vanish from a [Baked Chicken Recipes] table.
- Choose the right pan. A light colored metal pan gives you the crispiest edges. Glass works too, but start checking at 50 minutes.
- Store it smart. Cover the pan or squares and refrigerate for up to 4 days. Cold mochi turns firm, so microwave a square for about 10 seconds to bring back the chew. Because the batter has eggs and dairy, check the FoodSafety.gov leftovers guidance for safe handling.
- Can you freeze this mochiko sweet rice flour recipe? Yes. Wrap cooled squares individually, freeze them in a bag for up to 2 months, and thaw at room temperature.
- Swap in flavors. Whisk 1 tablespoon of matcha into the dry ingredients, or fold in 1/2 cup of chocolate chips right before baking. Both are crowd pleasers.
Frequently Asked Questions
What else can I make with a mochiko sweet rice flour recipe?
Mochiko is wonderfully versatile. You can bake mochi donuts, chewy waffles, mochi muffins, and pancakes, or use it to make dango and thicken sauces.
Why is my butter mochi gummy or raw in the middle?
It usually just needs more time. The center sets last, so bake until the top is deep golden, then let it cool fully, since it keeps setting as it cools. Also confirm your oven runs true with an inexpensive oven thermometer, since many home ovens run hot or cool.
Is mochiko gluten free?
Yes, naturally. Glutinous rice contains no gluten despite the name, though you should check the label for celiac guests since processing varies. For nutrition details on your brand, try USDA FoodData Central, and for more ideas see our [Pumpkin Spice Syrup Recipe].
Can I use a different pan size?
Yes. A 9 by 13 inch pan is the standard, but two 8 inch square pans work too, and they will bake faster, so start checking around 40 minutes.
Can I cut the sugar in a mochiko sweet rice flour recipe?
You can drop it to 1 1/2 cups and still get a tender, chewy bake. Going lower affects browning and moisture, so change it in small steps.
Easy Butter Mochi With Mochiko Sweet Rice Flour
Soft, bouncy squares with crackly golden edges and a coconut-scented center. One bowl, one pan, no steaming.
Ingredients
Dry
- 1 box (16 oz or 454 g) mochiko sweet rice flour
- 1 3/4 cups (350 g) granulated sugar
- 2 teaspoons baking powder
- 1/2 teaspoon fine sea salt
Wet
- 5 large eggs, room temperature
- 1 can (12 oz) evaporated milk
- 1 can (13.5 oz) full-fat coconut milk, shaken well
- 1/2 cup (113 g) unsalted butter, melted and slightly cooled, plus 1 tablespoon for the pan
- 1 tablespoon vanilla extract
Optional topping
- 2 tablespoons unsweetened shredded coconut
Instructions
- Heat the oven to 350°F (175°C) and set a rack in the center.
- Butter a 9 by 13 inch metal baking pan, getting into the corners so the edges release cleanly.
- Whisk the mochiko, sugar, baking powder, and salt in a large bowl. Press out any lumps.
- Add the eggs and whisk until the mixture looks like a thick, smooth paste.
- Pour in the evaporated milk, a little at a time, whisking as you go.
- Whisk in the coconut milk and vanilla until the batter is thin and pourable.
- Stream in the melted butter, cooled for a few minutes first, and whisk until glossy.
- Let the batter rest for 5 minutes, then give it one last stir.
- Pour the batter into the pan and tap it on the counter to pop air bubbles.
- Sprinkle the shredded coconut over the top, if using.
- Bake for 55 to 65 minutes, until the top is deep golden brown.
- Cool the pan on a wire rack for at least 1 hour before cutting.
Your Turn
That is the whole story of my favorite mochiko sweet rice flour recipe: one bowl, one pan, and squares with crisp edges and a soft, springy center. I hope it becomes your go to for parties and quiet afternoons alike. If you bake it, leave a comment and a star rating to tell me how it turned out, and save this recipe to your Pinterest dessert board so you can find it again.