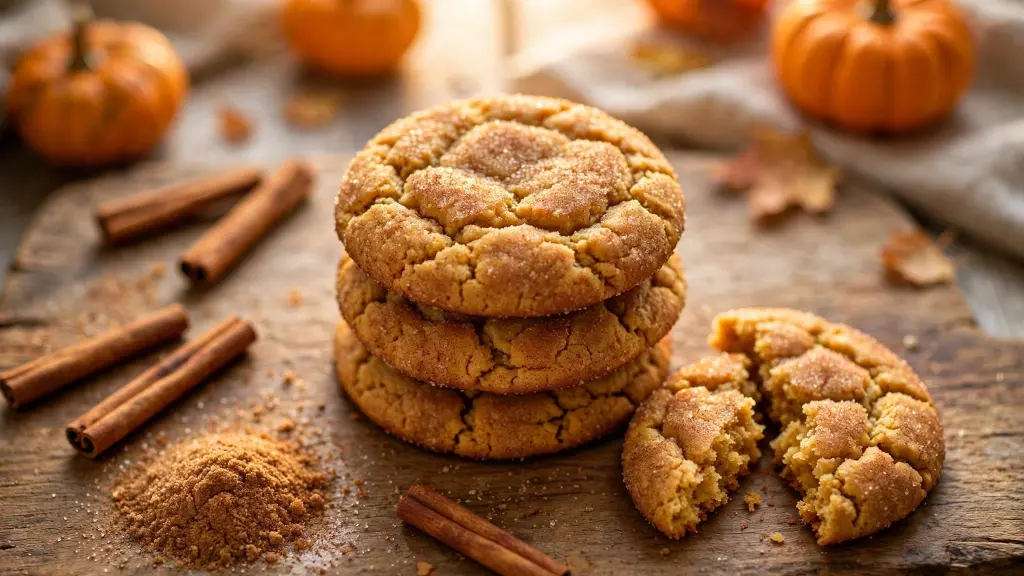
Pumpkin Snickerdoodle Cookies That Stay Soft for Days
If your snickerdoodle cookies always turn hard and dry by the second day, you are not alone. It happens to almost every home baker at some point.
That is exactly why this pumpkin snickerdoodle cookies recipe is different. A few small changes in the ingredients and the baking process keep every cookie soft and tender for nearly a week, not just a few hours.
I’ve noticed that most soft-cookie problems come down to two things: too much flour and too much time in the oven. Once you fix those, everything else falls into place. By the end of this guide, you will know exactly how to mix, bake, and store these cookies so they stay just as soft on day five as they were fresh out of the oven.
Why These Pumpkin Snickerdoodles Stay Soft
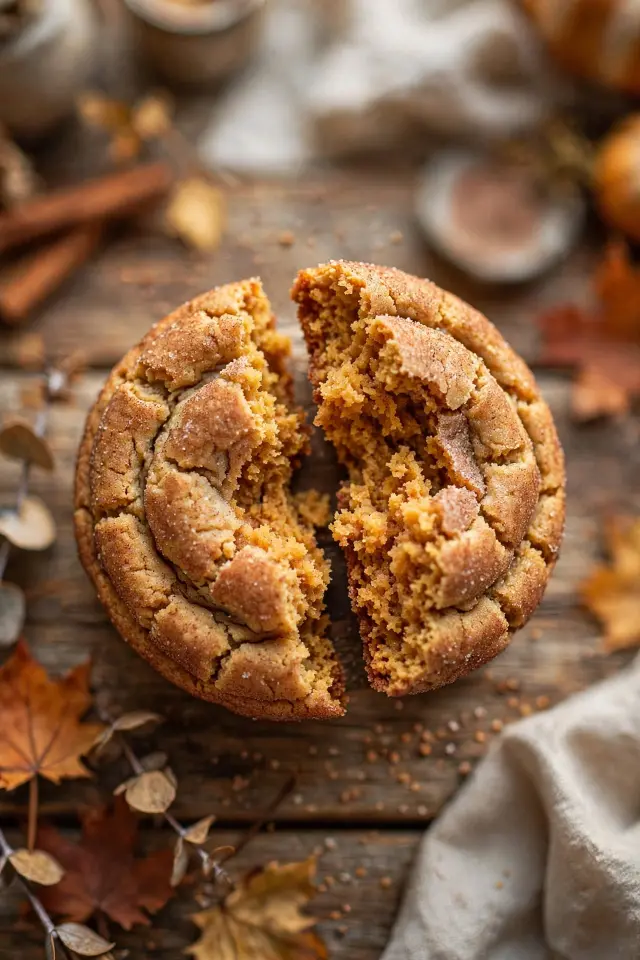
Most cookies start to dry out within a day or two, but these pumpkin snickerdoodle cookies hold their soft texture for almost a week. The secret comes down to a few small choices in the ingredients and the way the dough is handled, not any complicated technique.
Pumpkin puree adds natural moisture that regular snickerdoodle recipes don’t have. Combined with the right sugar balance, it keeps the crumb tender long after the cookies have cooled, so you get that same soft bite on day four as you did on day one.
What You’ll Need
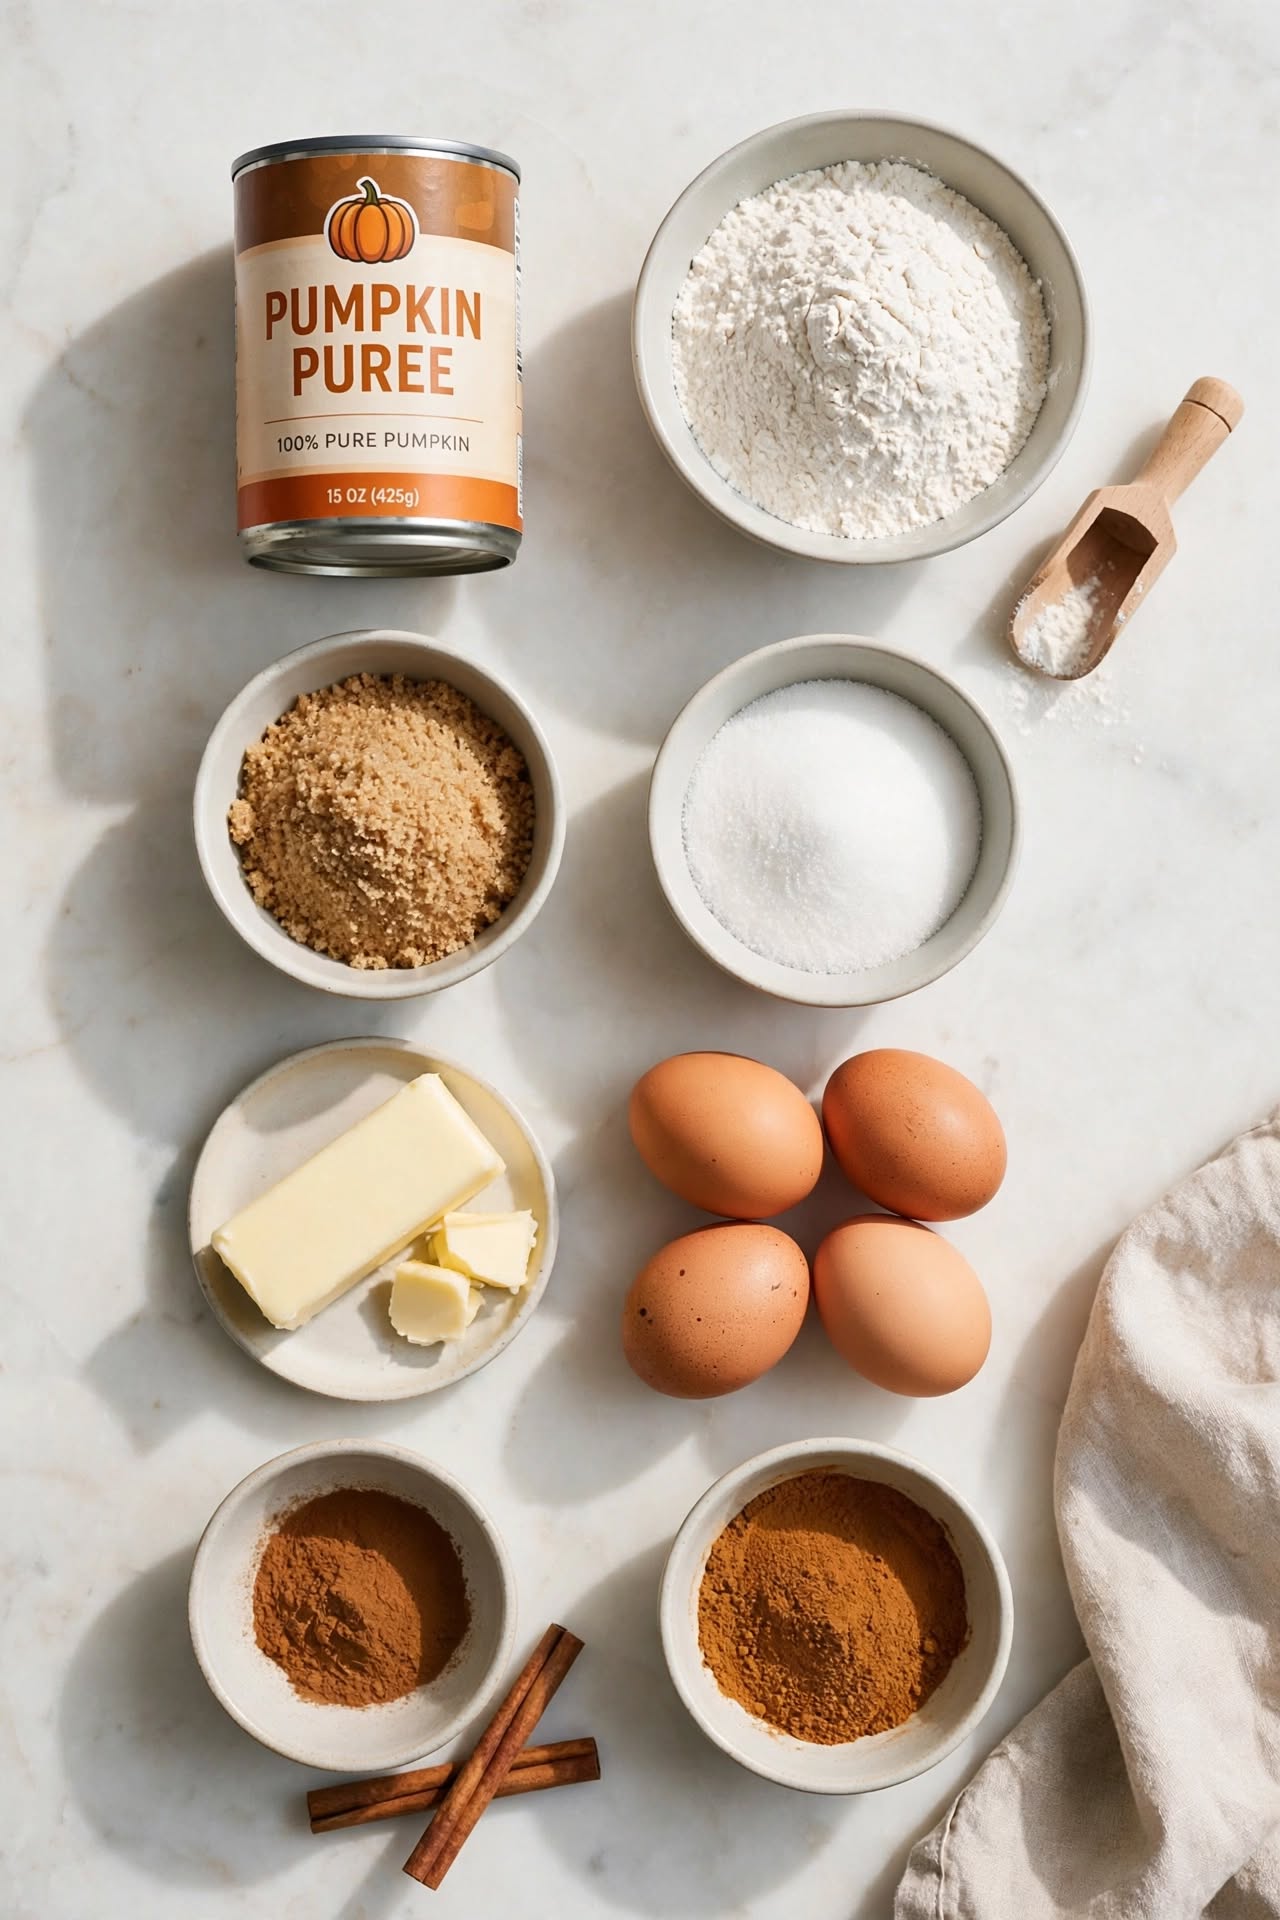
Getting the ingredient list right matters more than people expect with pumpkin snickerdoodle cookies, since a few small swaps can make the difference between a soft cookie and a dry one. Here’s exactly what you’ll need before you start.
- Ingredients
- 1 cup pumpkin puree (not pumpkin pie filling), patted dry with a paper towel
- 1 cup butter, softened to room temperature
- 1 cup brown sugar, packed
- ½ cup white sugar (plus extra for rolling)
- 1 large egg
- 1 teaspoon vanilla extract
- 2¾ cups all-purpose flour
- 2 teaspoons cornstarch
- 1 teaspoon baking soda
- ½ teaspoon salt
- 1 teaspoon cinnamon (plus extra for rolling)
- 1 teaspoon pumpkin pie spice
- 2 tablespoons cinnamon sugar mixture (for rolling)
- Agar aap chahte hain to main ismein exact measurements ko servings ke hisab se adjust bhi kar sakta hoon, ya isay article ke “What You’ll Need” section ke andar fit karne ke liye reformat kar sakta hoon. Batayein kya chahiye.
Tools That Make This Easier
See more : Roast Beef Recipes
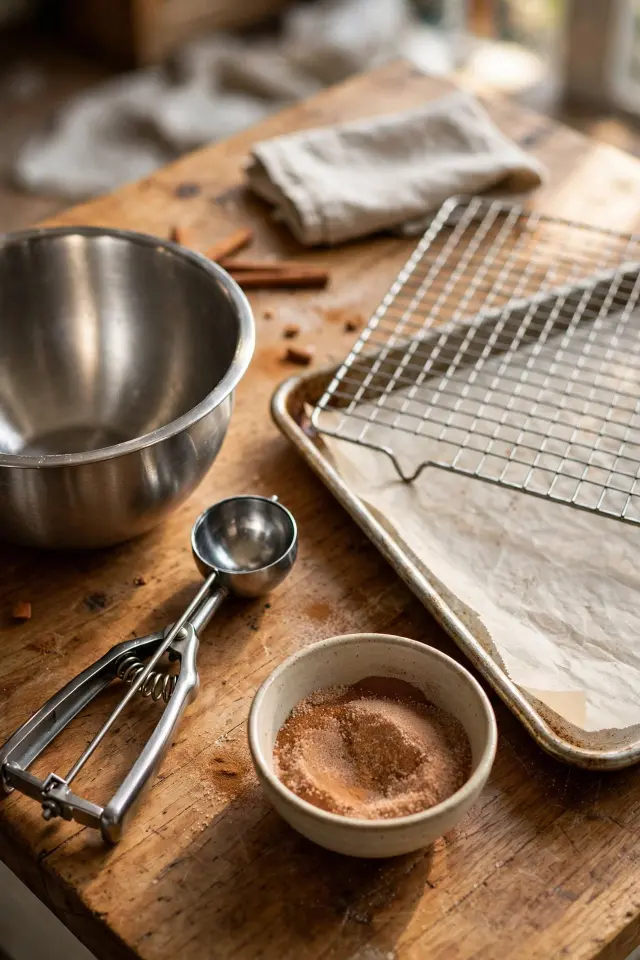
Quick Tip: A cookie scoop is the one tool that makes the biggest difference here. It keeps every cookie the same size, which means they all bake evenly and stay soft at the same rate.
You don’t need anything fancy to make this recipe work well. A basic hand mixer or stand mixer, a couple of mixing bowls, a lined baking sheet, and a wire rack for cooling are really all it takes to get consistent, soft results every time.
How to Make the Pumpkin Snickerdoodle Dough
See more : https://ironskillettales.com/cheap-chicken-and-rice-recipes/
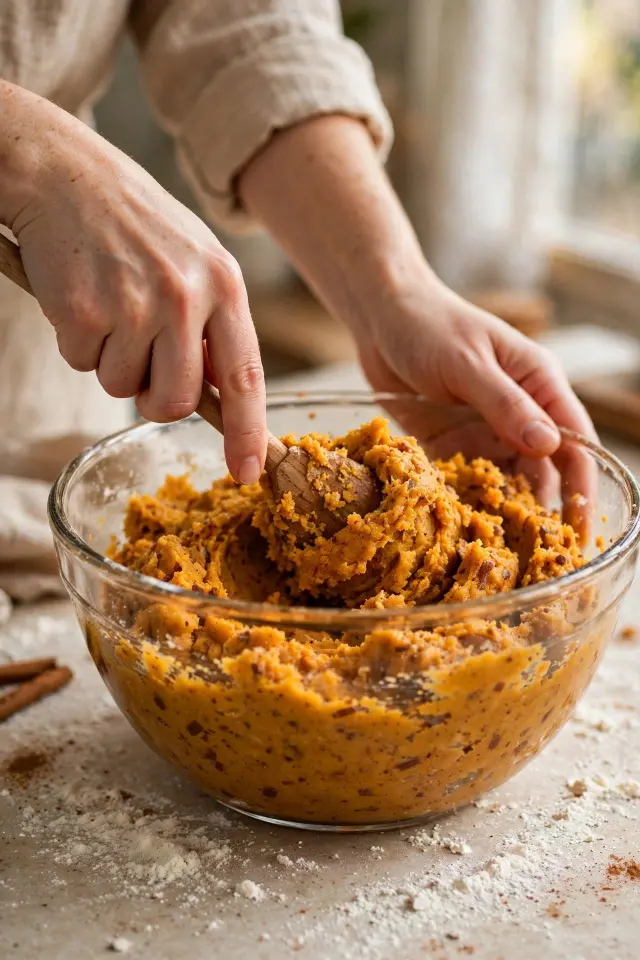
Common Mistake: Most people add the pumpkin puree straight from the can without patting out the extra moisture first. This throws off the flour-to-liquid ratio and can leave the dough too sticky to handle.
The Fix: Blot the pumpkin puree with a paper towel for a minute or two before mixing it in. This removes just enough excess water so the dough holds together properly.
Once your pumpkin is prepped, cream the butter and sugars together until fluffy, then mix in the egg, vanilla, and pumpkin. Add the dry ingredients gradually so the dough doesn’t turn tough. It should feel thick and slightly tacky, not wet.
The Cinnamon-Sugar Coating Step
See more :Peanut Butter Pie Recipe
What You Need:
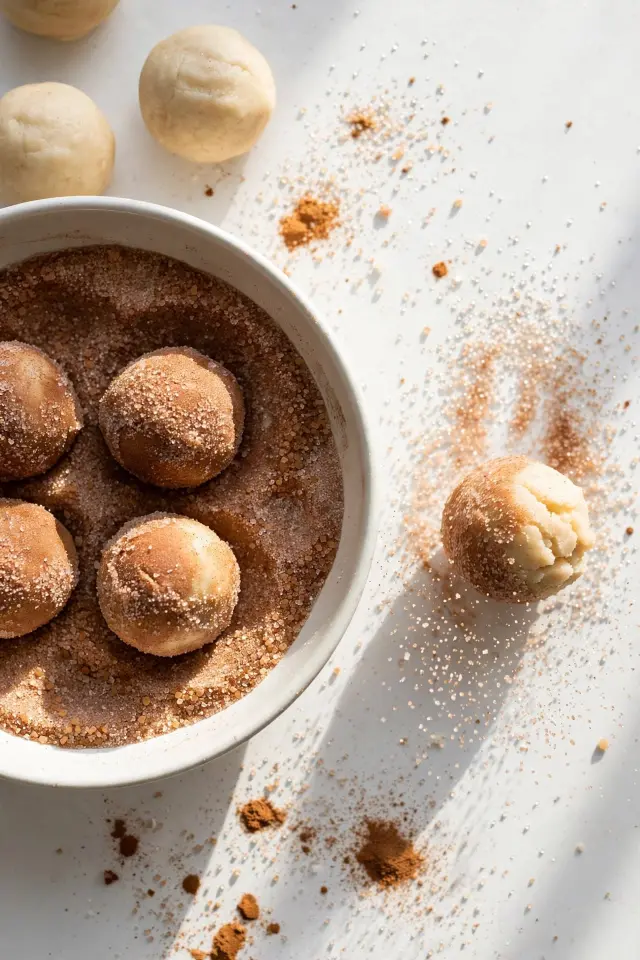
- White sugar – forms the base of the coating and helps create a light crust.
- Ground cinnamon – gives the classic snickerdoodle flavor and warm color.
- A shallow bowl or plate – makes rolling the dough balls quick and mess-free.
- A small cookie scoop – keeps portions even so each cookie coats the same way.
Roll each dough ball fully in the cinnamon sugar mixture right before baking, pressing gently so the coating sticks to every side. This step is what gives pumpkin snickerdoodle cookies their signature crackled, sparkly top once they bake.
Baking Time and Temperature for Soft Cookies
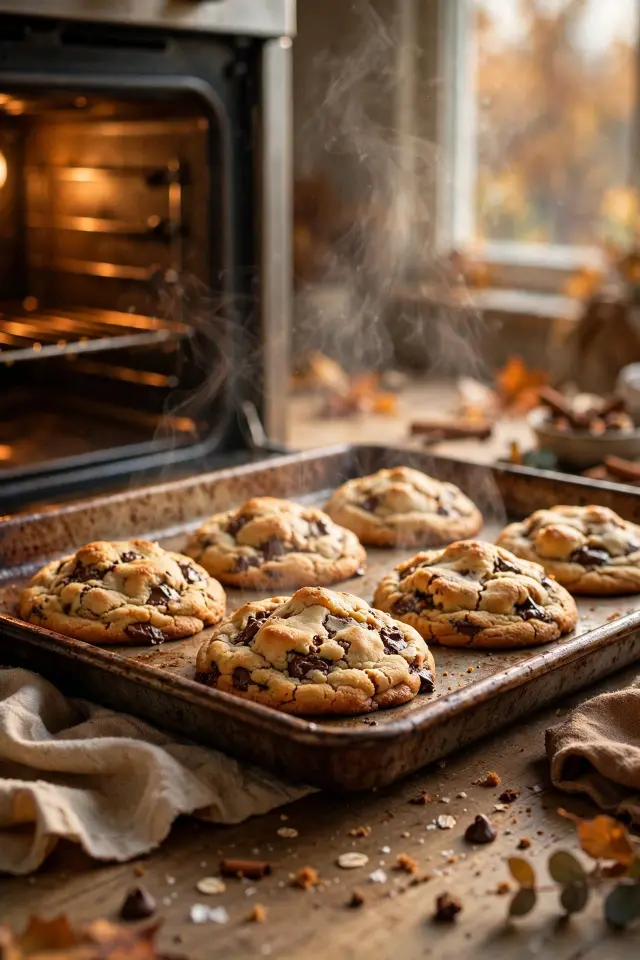
Before: Cookies baked too long at too high a temperature turn crisp around the edges and lose the soft center that makes this recipe worth making.
After: Baking at a slightly lower temperature for a shorter time leaves the centers soft and just set, with edges that are barely golden.
In my experience, pulling the cookies out when they still look a touch underdone in the middle is the single best way to guarantee softness. They’ll continue cooking on the hot pan for a few minutes after you take them out, so resist the urge to leave them in longer.
The Secret to Keeping Them Soft for Days
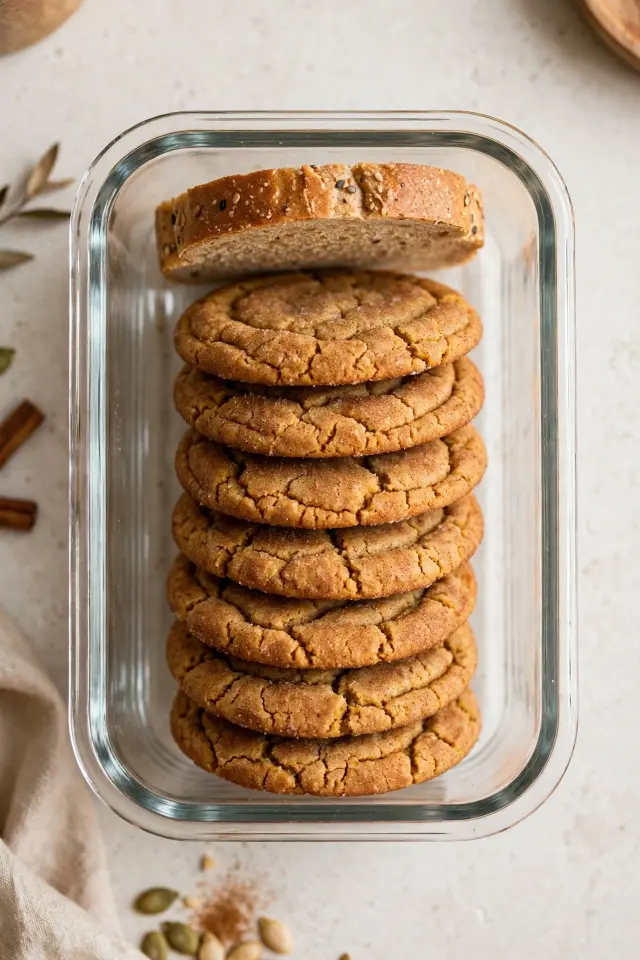
Do This:
- Store cookies in an airtight container once fully cooled.
- Add a slice of plain bread to the container to keep humidity balanced.
- Keep the container at room temperature, not in the fridge.
- Layer parchment paper between cookie layers to prevent sticking.
Avoid This:
- Don’t store warm cookies, since trapped steam causes sogginess in some and dryness in others.
- Don’t leave the container open between servings.
- Don’t stack cookies without any separation.
I’ve noticed that the bread trick surprises a lot of first-time bakers, but it genuinely works. The bread dries out slightly instead of the cookies, and the cookies stay soft for up to five or six days without any change in texture.
Common Mistakes That Make Cookies Turn Out Flat, Dry, or Cakey
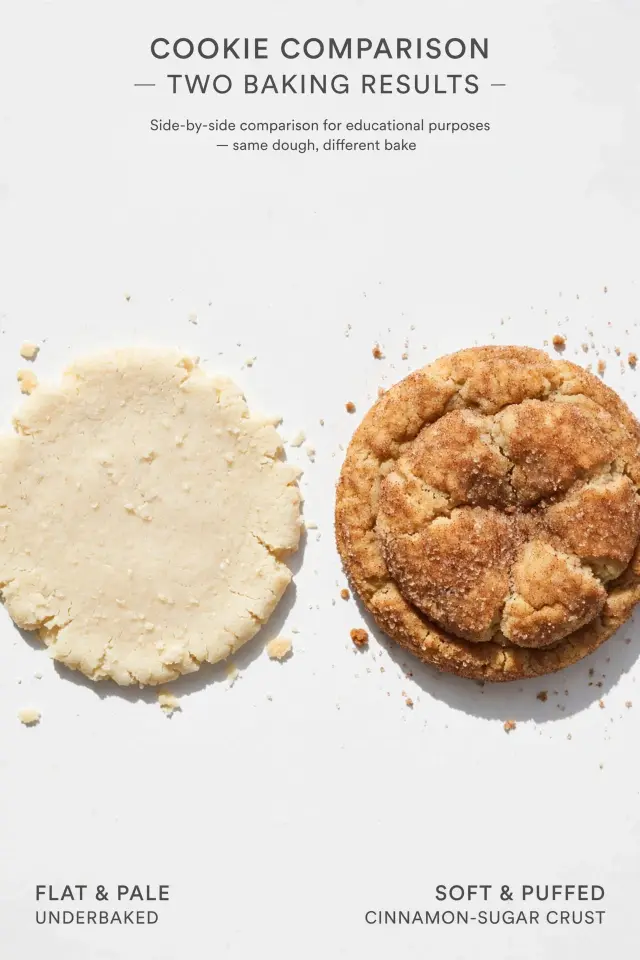
Time Needed: 5 minutes to double-check your setup | Difficulty: Easy to fix | Pro Tip: Chill the dough for 20 minutes if your kitchen runs warm | Result: Consistently soft, evenly shaped cookies
Flat cookies usually mean the butter was too warm or the dough wasn’t chilled before baking. Dry cookies often point to too much flour or overbaking, while cakey cookies usually mean too much pumpkin puree or leavening. Weighing your flour and measuring pumpkin carefully solves most of these issues right away.
Storing and Freezing Tips
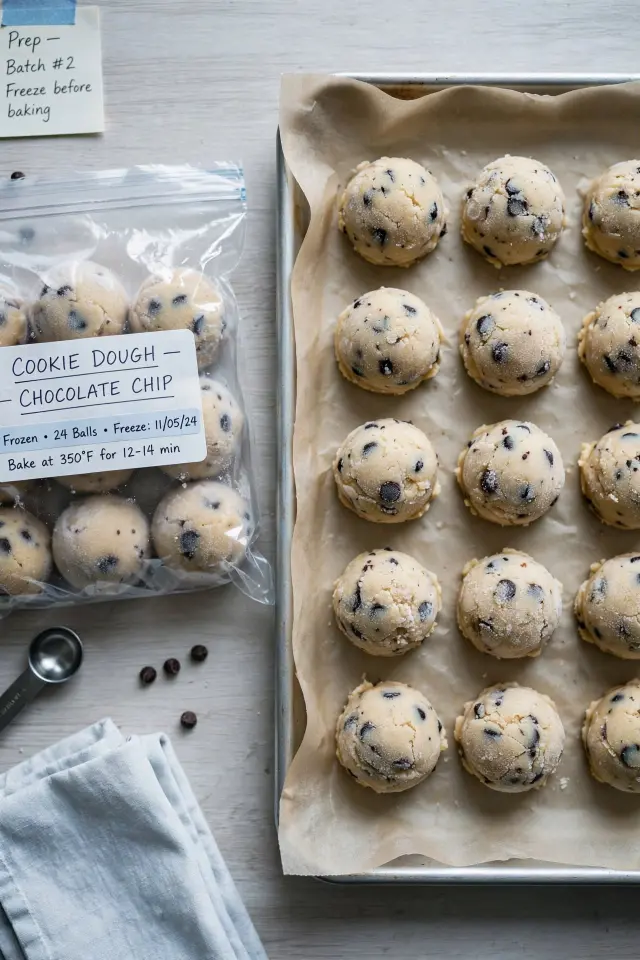
Freezing the dough is one of the easiest ways to always have fresh pumpkin snickerdoodle cookies on hand without starting from scratch. Simply roll the dough into balls, freeze them on a tray until firm, then transfer to a freezer bag for up to three months.
When you’re ready to bake, roll the frozen dough balls in cinnamon sugar and add an extra minute or two to the bake time. There’s no need to thaw them first, which makes this a genuinely convenient option for last-minute baking.
Conclusion
Now you have everything you need to make pumpkin snickerdoodle cookies that actually stay soft, from the right ingredients to the small storage trick that makes all the difference. I’ve seen how making this one change can completely shift the result, turning a good batch into one you will want to make again and again.
Save this article on Pinterest so you can come back to it the next time you’re baking, and pass it along to anyone who always ends up with dry cookies. Try it once, and it might just become your go-to fall recipe.