Easy Cherry Cobbler Recipe That Tastes Like Summer in Every Bite
A Cherry Cobbler That Tastes Like Grandma Made It
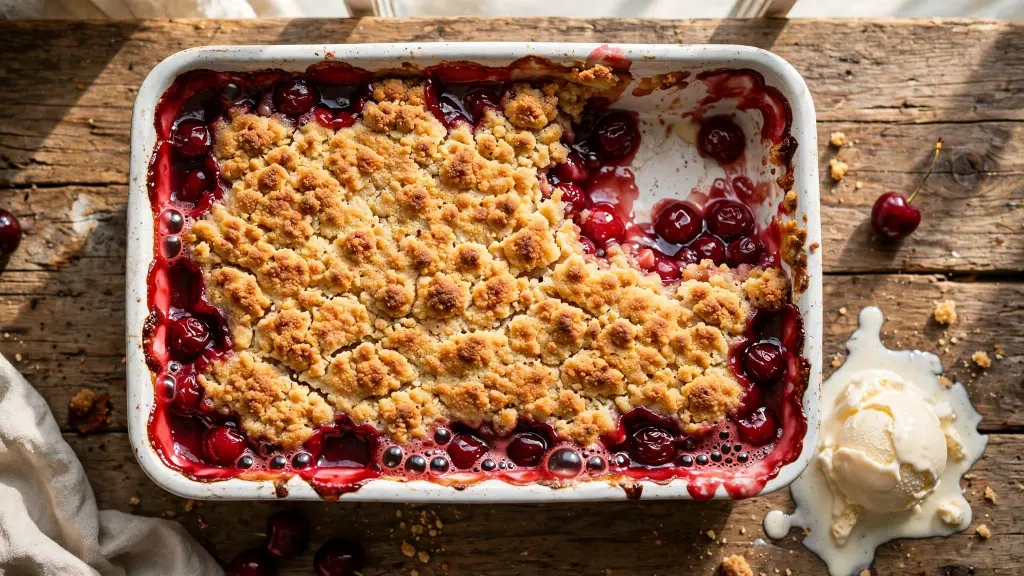
If you want a cherry cobbler recipe that delivers a jammy, bubbling fruit filling under a golden, slightly crisp biscuit topping, this is it — and it comes together with ingredients you probably already have on hand. I started making this cobbler years ago when I had a surplus of cherries from a farmers market haul and no idea what to do with all of them. One bite of the warm, syrupy filling against that buttery topping and it became a permanent fixture in my summer baking rotation.
There’s something about the smell of cherries bubbling away in the oven that pulls people into the kitchen before you even announce dessert is ready. This one’s forgiving, too — no pastry skills required, no lattice weaving, just a simple batter dropped or poured over the fruit.
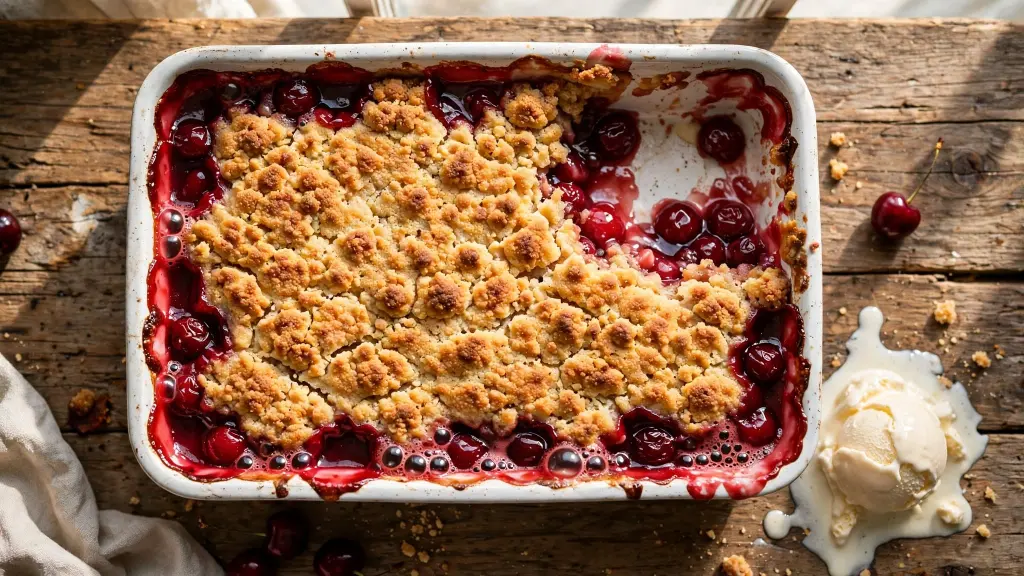
Recipe Snapshot
- Prep Time: 15 minutes
- Cook Time: 40 minutes
- Total Time: 55 minutes
- Servings: 8
- Difficulty: Easy
Why You’ll Love This Recipe
- Uses simple, everyday ingredients — no specialty tools or techniques
- The biscuit-style topping turns golden and slightly crisp while staying soft underneath
- Works with fresh, frozen, or canned cherries, so it’s a year-round dessert
- Comes together in one bowl for the topping and one pan for the filling
- Reheats beautifully, so leftovers taste just as good the next day
Ingredients
For the Cherry Filling
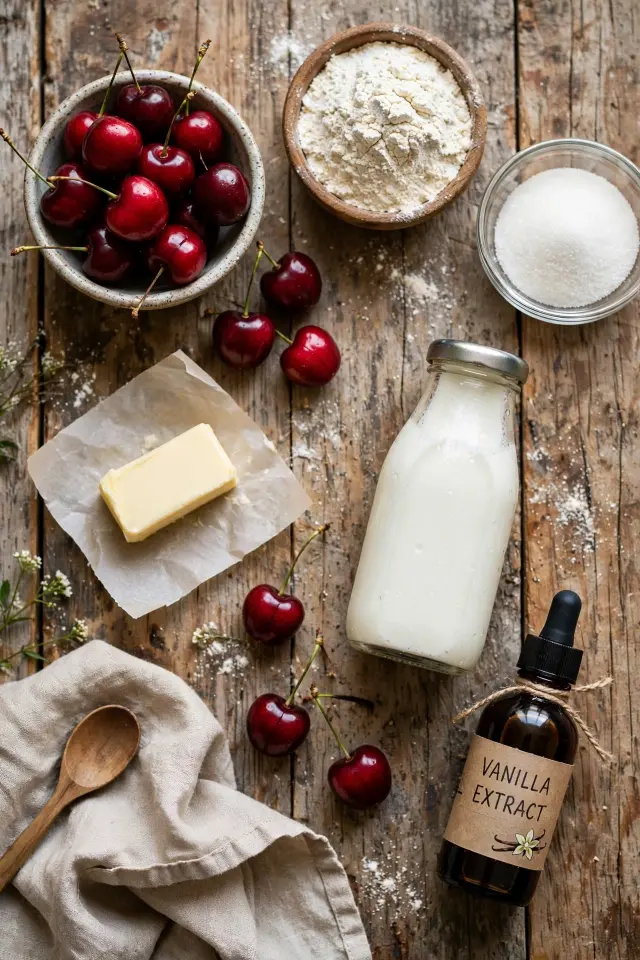
- 5 cups pitted cherries (fresh or frozen; if using canned, drain well and reduce sugar by half)
- ¾ cup granulated sugar (use up to 1 cup if your cherries are very tart)
- 2 tablespoons cornstarch
- 1 tablespoon fresh lemon juice
- ¼ teaspoon almond extract (optional, but it deepens the cherry flavor beautifully)
For the Cobbler Topping
- 1 cup all-purpose flour
- ½ cup granulated sugar, plus 1 tablespoon for sprinkling
- 1 ½ teaspoons baking powder
- ¼ teaspoon salt
- 6 tablespoons unsalted butter, melted
- ½ cup whole milk (buttermilk works too, and adds a slight tang)
- 1 teaspoon vanilla extract
Substitution notes: No fresh cherries? Frozen work just as well — no need to thaw, just add a few extra minutes to the bake time. Gluten-free? A 1:1 gluten-free flour blend holds up fine in the topping. Dairy-free? Swap the butter for melted coconut oil and use oat milk.
How to Make Cherry Cobbler
- Preheat your oven to 375°F (190°C) and lightly butter a 9×9-inch or similar baking dish.
- Make the cherry filling. In a large bowl, toss the pitted cherries with sugar, cornstarch, lemon juice, and almond extract until every cherry is coated. The cornstarch is what thickens the juices into that glossy, jammy texture as it bakes — don’t skip it.
- Pour the cherry mixture into your prepared baking dish, spreading it into an even layer.
- Whisk the dry topping ingredients. In a separate bowl, combine the flour, sugar, baking powder, and salt.
- Add the wet ingredients. Pour in the melted butter, milk, and vanilla, stirring just until combined. Is it okay if the batter looks a little lumpy? Yes — overmixing here makes the topping tough instead of tender, so stop as soon as the streaks of flour disappear.
- Drop the batter over the cherries. Use a spoon to dollop it evenly across the surface — it doesn’t need to fully cover the fruit, since it’ll spread as it bakes.
- Sprinkle the remaining tablespoon of sugar over the top. This gives you that slightly crackly, sweet crust once baked.
- Bake for 35-40 minutes, until the topping is golden brown and the cherry filling is bubbling visibly at the edges.
- Let it rest for at least 10 minutes before serving. This is the hardest step, honestly, but it lets the filling set up so it doesn’t run everywhere when you scoop it.
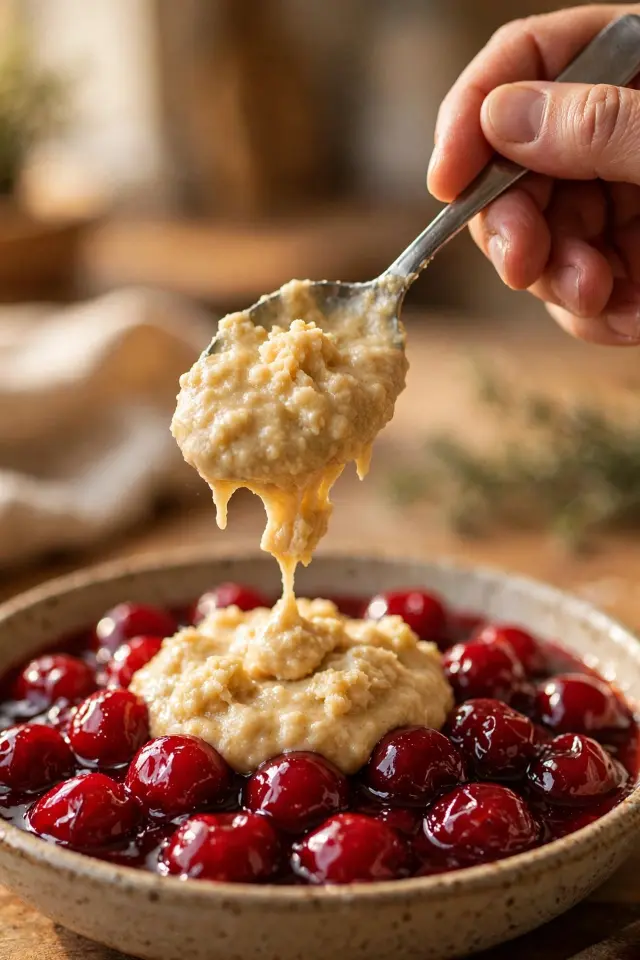
Wondering how you know it’s actually done and not just browned on top? Look for filling bubbling thickly around the edges of the dish, not just a golden top — that’s the real sign the cornstarch has activated and the topping is baked through underneath.
Expert Tips for the Best Cherry Cobbler
- Don’t skip the cornstarch-and-fruit rest. Letting the sugared cherries sit for 5-10 minutes before baking pulls out extra juice, which helps the filling thicken more evenly.
- Frozen cherries need a little insurance. They release more liquid than fresh, so add an extra teaspoon of cornstarch if that’s what you’re using.
- Storage: Cover leftovers and refrigerate for up to 4 days. The topping softens over time, but the flavor only gets better.
- Reheating: A quick 10-minute stint in a 325°F oven revives the topping’s texture far better than the microwave, which tends to make it gummy.
- Watch your sugar with canned cherries. Canned pie filling or heavily syruped cherries are already sweet, so cut the added sugar back significantly or the dessert turns cloying.
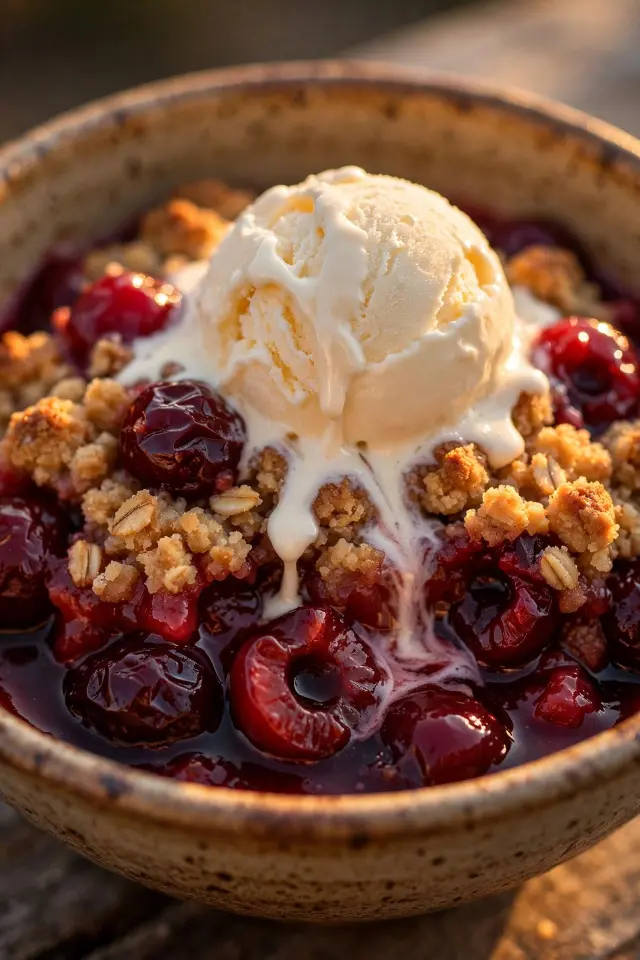
Looking for more ways to use a cherry haul? Check outBirthday Food Ideas on the blog, or browse The Best Fruit Pizza Recipe if cobblers and crisps are new territory for you.
Frequently Asked Questions
Can I make cherry cobbler with frozen cherries?
Yes, frozen cherries work great and you don’t need to thaw them first. Just add a few extra minutes to the bake time and consider an extra teaspoon of cornstarch since frozen fruit releases more liquid.
What’s the difference between a cobbler and a crisp?
A cobbler has a biscuit- or cake-like topping, while a crisp uses a crumbly streusel made with oats and butter. Cobbler tends to be softer and more cake-like on top, while a crisp is crunchier.
Why is my cobbler topping soggy instead of crisp?
This usually happens if the cobbler wasn’t baked long enough for the filling to fully bubble and set, or if it was covered while still hot. Let it bake until you see thick bubbling at the edges, and always rest it uncovered before serving.
Can I make this recipe ahead of time?
You can prep the cherry filling and the dry topping ingredients separately a day ahead, then combine and bake right before serving. Baking it fully ahead is fine too — just reheat in the oven rather than the microwave to restore the topping’s texture.
Do I need to pit the cherries myself?
If you can find pre-pitted fresh or frozen cherries, that saves a lot of time, but a cherry pitter tool makes hand-pitting quick if you can’t. Either way, double-check for stray pits before adding the cherries to your bowl.
Give This Cherry Cobbler a Try
This cherry cobbler recipe is the kind of dessert that turns a handful of simple ingredients into something people ask for again and again. If you make it, I’d love to hear how it turned out — leave a comment below or snap a photo and tag it so I can see your version. And if you’re planning ahead, go ahead and pin this one for your next cookout or cozy night in.