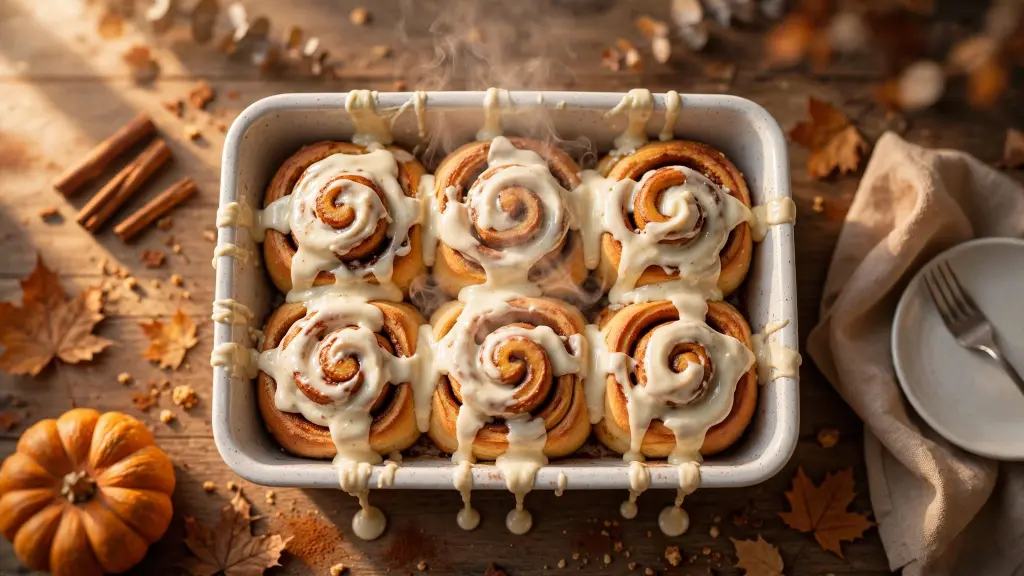
Pumpkin Cinnamon Rolls Recipe for Cozy Fall Mornings
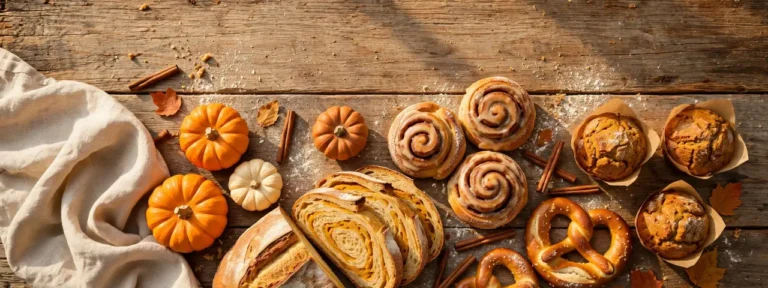
There’s nothing quite like waking up to the smell of a warm pumpkin cinnamon rolls recipe baking in the oven. It’s the kind of thing that makes a fall morning feel a little softer and a lot more special.
I’ve noticed that a lot of cinnamon roll recipes either skip the pumpkin flavor entirely or add so much that the dough turns heavy and dense. This recipe strikes the right balance, giving you a soft, flavorful roll without any guesswork.
By the end of this guide, you’ll know exactly how to mix the dough, roll it tightly, and bake it to a perfect golden finish, topped with a rich cream cheese icing that ties everything together.
Section 1: Why You’ll Love This Pumpkin Cinnamon Rolls Recipe
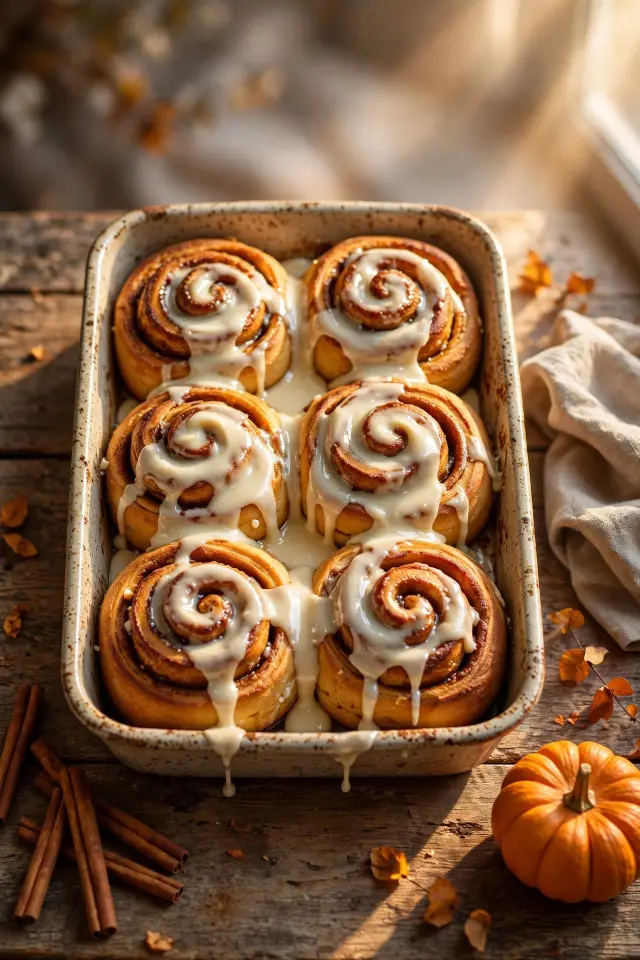
There’s something about the smell of cinnamon and pumpkin baking together that instantly feels like fall. This pumpkin cinnamon rolls recipe brings together a soft, spiced dough with a rich cinnamon filling for a breakfast that feels special without being complicated.
Whether you’re baking for a weekend brunch or just want a cozy morning treat, this recipe is built for real kitchens and real schedules. Every step is written clearly so a first-time baker can follow along with confidence and end up with rolls that actually turn out right.
Section 2: What You’ll Need Before You Start
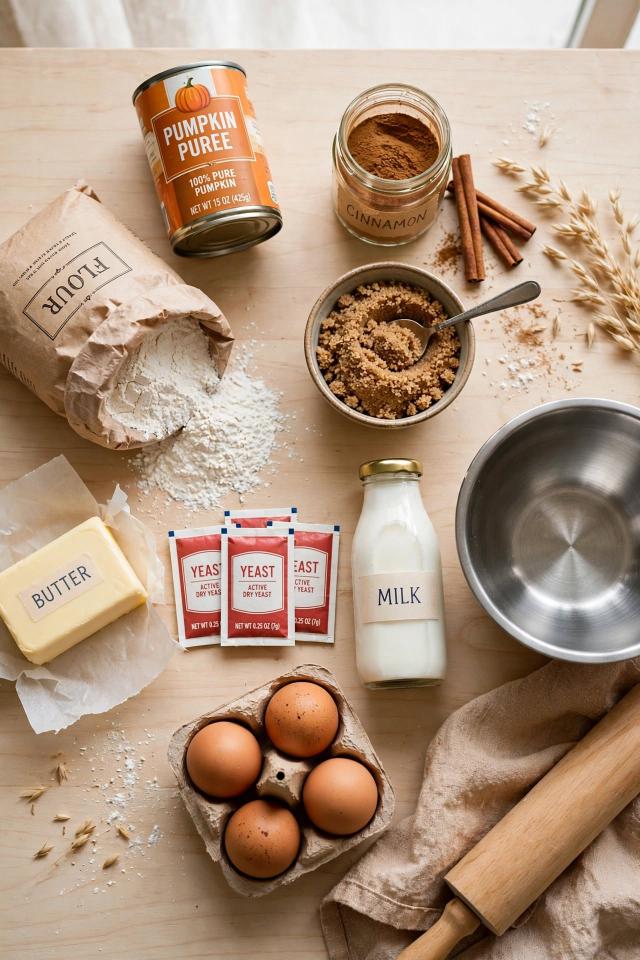
Getting your ingredients and tools ready before you start makes the whole process smoother and less stressful. Here’s exactly what this recipe calls for.
- Gather your dry ingredients: 3 cups flour, 1/4 cup sugar, 1 tsp salt, 1 tsp cinnamon, and 1 packet instant yeast.
- Set out your wet ingredients: 3/4 cup pumpkin puree, 1/4 cup warm milk, 1/4 cup melted butter, and 1 egg, letting cold ones come to room temperature.
- Prep your filling ingredients: 1/2 cup softened butter, 3/4 cup brown sugar, 2 tbsp ground cinnamon, and a pinch of salt.
- Have your icing ingredients ready: 4 oz cream cheese, 1 cup powdered sugar, 2 to 3 tbsp milk, and 1/2 tsp vanilla.
- Set out your tools: a stand mixer or large bowl, a rolling pin, a 9×13 baking dish, and plastic wrap for rising.
Section 3: How to Make the Pumpkin Dough
See more : Ground Beef Recipes
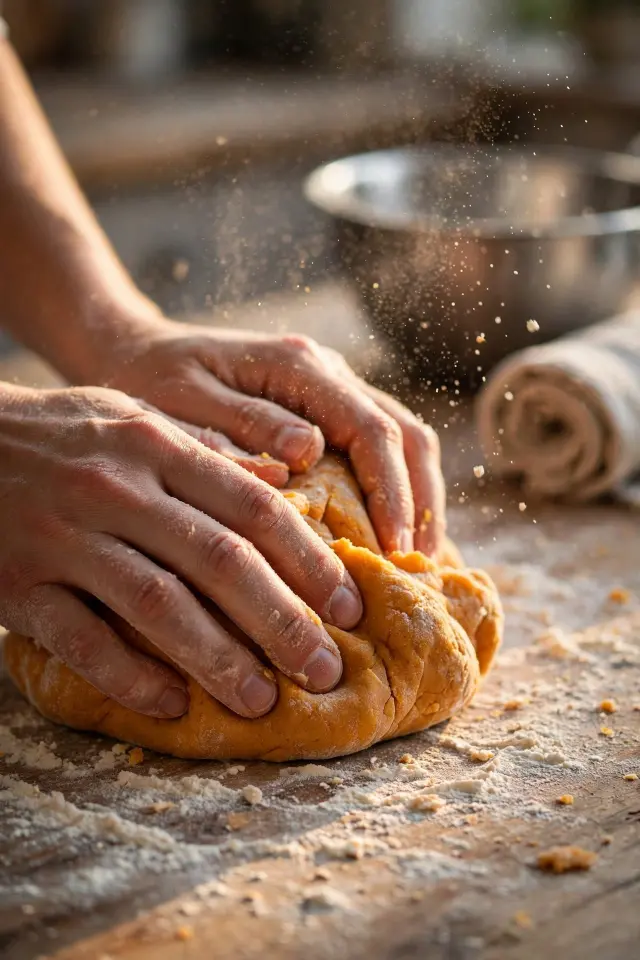
Quick Tip: Don’t rush the mixing stage. A well-developed dough is what gives these rolls their soft, pillowy texture, so take your time kneading until it feels smooth and slightly tacky, not sticky.
In my experience, the pumpkin puree adds moisture that can make the dough feel different from a regular cinnamon roll dough, and that’s completely normal. Mix your wet ingredients first, then gradually add the dry ingredients until a shaggy dough forms, and knead for about 8 to 10 minutes until it’s smooth and elastic.
Section 4: Letting the Dough Rise
See more :Best Beef Stew Recipe
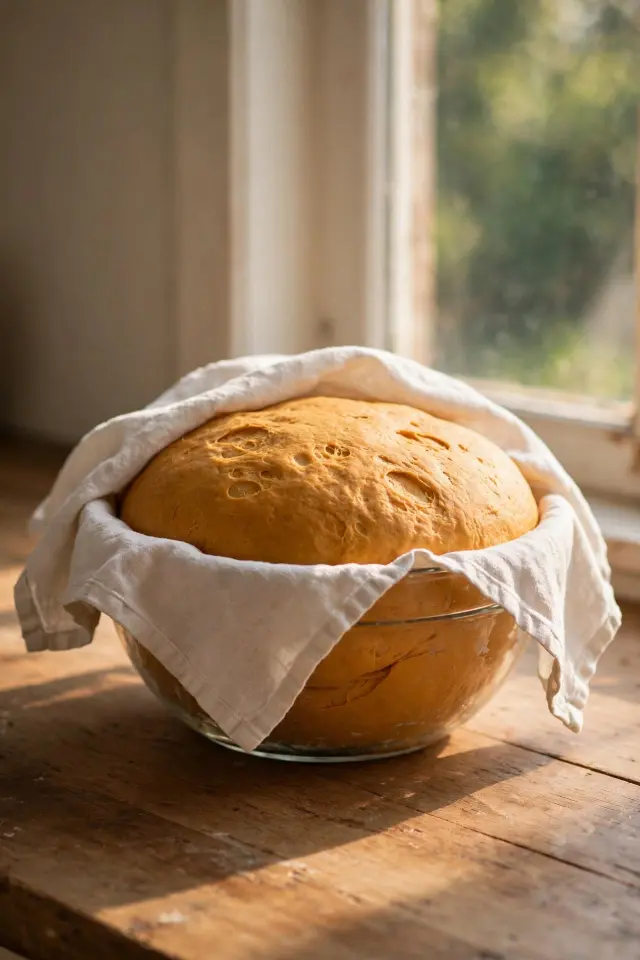
Common Mistake: Many beginners either rush the rise or put the dough somewhere too cold, ending up with dense, heavy rolls. Others check on it so often that the dough loses warmth and momentum.
The Fix: Find a warm, draft-free spot, like an oven with just the light on, and let the dough rise undisturbed for the full time. Resist the urge to peek constantly.
Most kitchens take about 1 to 1.5 hours for the dough to double in size, though this can vary depending on room temperature. The dough is ready when you press it gently with a finger and the indentation slowly springs back halfway.
Section 5: Making the Cinnamon Filling
See more : Ground Beef Recipes
What You Need:
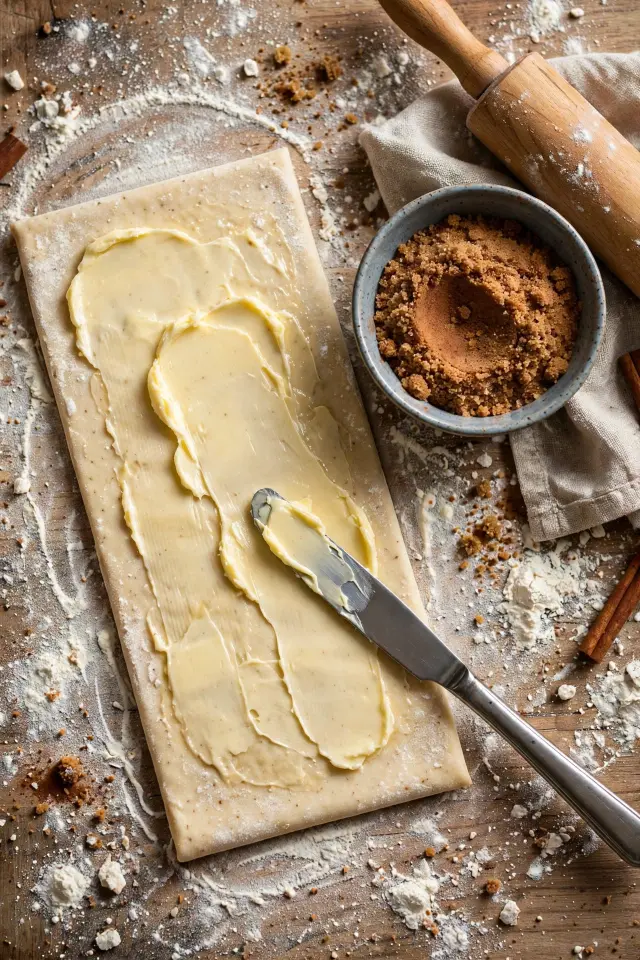
- Softened butter: easy to spread evenly without tearing the dough.
- Brown sugar: adds moisture and a deep caramel flavor to the filling.
- Ground cinnamon: the star spice that defines the flavor of every bite.
- A pinch of salt: balances the sweetness and rounds out the flavor.
- A small offset spatula or spoon: helps spread the filling smoothly to the edges.
This filling comes together in minutes but makes a big difference in the final flavor. Mix the brown sugar and cinnamon together first so it spreads evenly, then press the softened butter onto the dough before sprinkling the mixture on top, right to the edges.
Section 6: Rolling and Cutting the Rolls
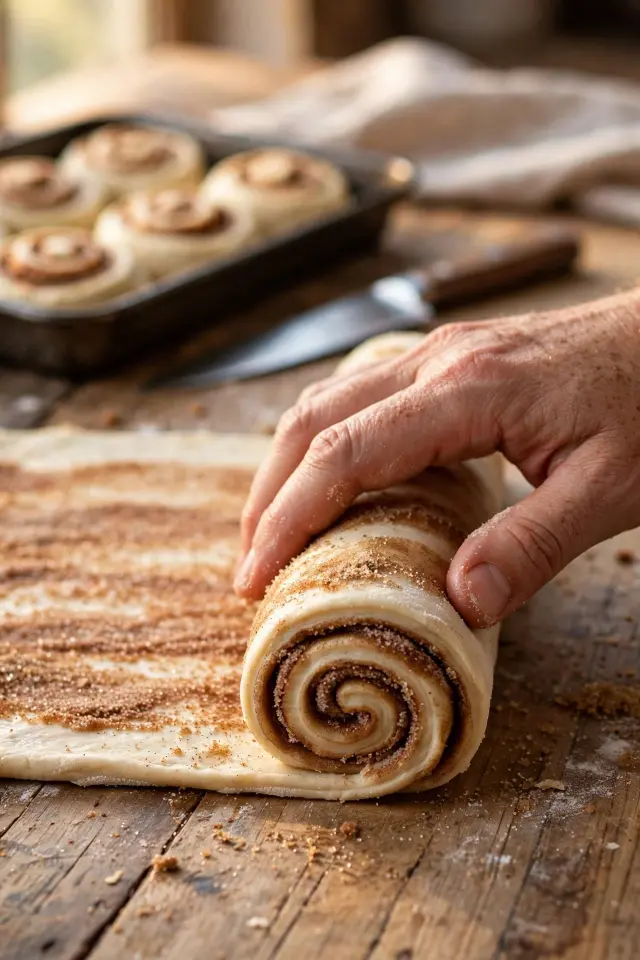
Before: A flat sheet of dough with filling spread on top can feel awkward to work with, and loose rolling often leads to rolls that unravel in the oven.
After: A tight, even log that slices cleanly into rolls with a clear spiral, ready to bake up soft and uniform.
Roll the dough tightly starting from the long edge, keeping even pressure the whole way. Use a piece of unflavored dental floss or a sharp serrated knife to slice the log into equal pieces, which helps keep the spiral shape intact instead of squashing it flat.
Section 7: Baking to Golden Perfection
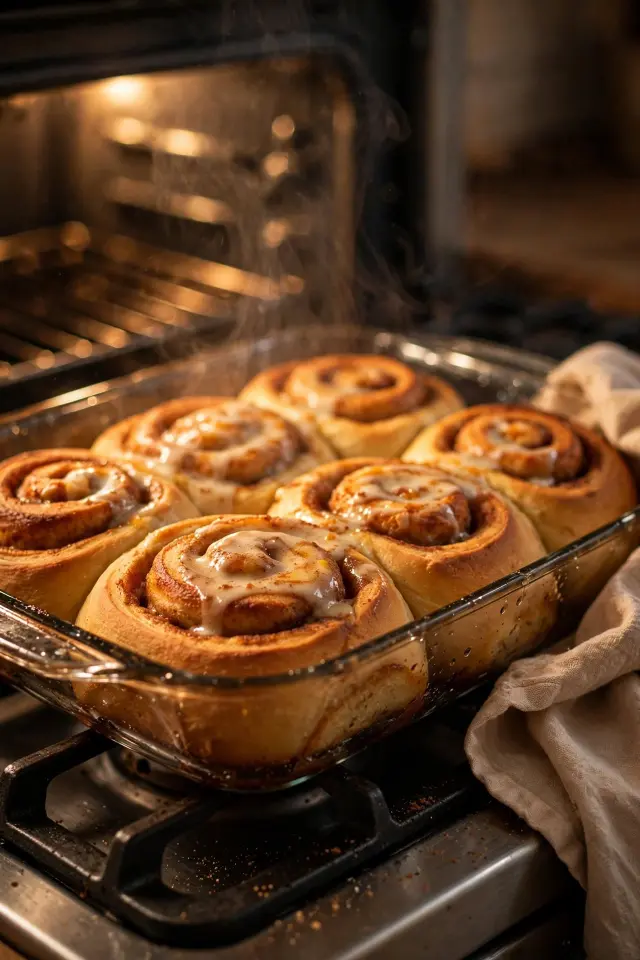
Do This:
- Preheat your oven fully before the rolls go in.
- Place the dish on the middle rack for even heat.
- Check the rolls at the earliest suggested time to avoid overbaking.
- Look for a deep golden top and firm, springy centers.
Avoid This:
- Don’t open the oven door repeatedly, since it drops the temperature.
- Don’t rely only on the timer without checking visually.
- Don’t skip tenting with foil if the tops brown too fast.
Bake the rolls at 350°F for about 22 to 25 minutes, watching closely toward the end. I’ve noticed that ovens vary quite a bit, so the visual cues matter more than the clock alone.
Section 8: The Cream Cheese Icing
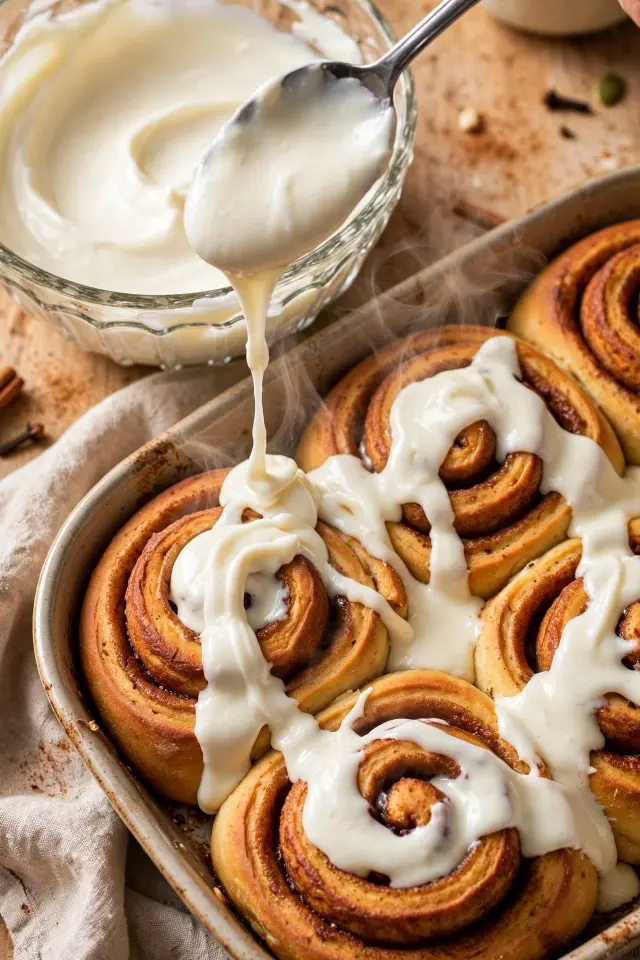
Time Needed: 5 minutes | Difficulty: Easy | Best For: Topping warm rolls right before serving | Pro Tip: Icing melts faster and soaks in more when the rolls are still warm.
Beat softened cream cheese with powdered sugar, a splash of milk, and a little vanilla until smooth and pourable. Spread or drizzle it generously over the rolls while they’re still slightly warm, letting it melt into the swirls for extra flavor in every bite.
Section 9: Common Mistakes and Pro Tips for Perfect Rolls
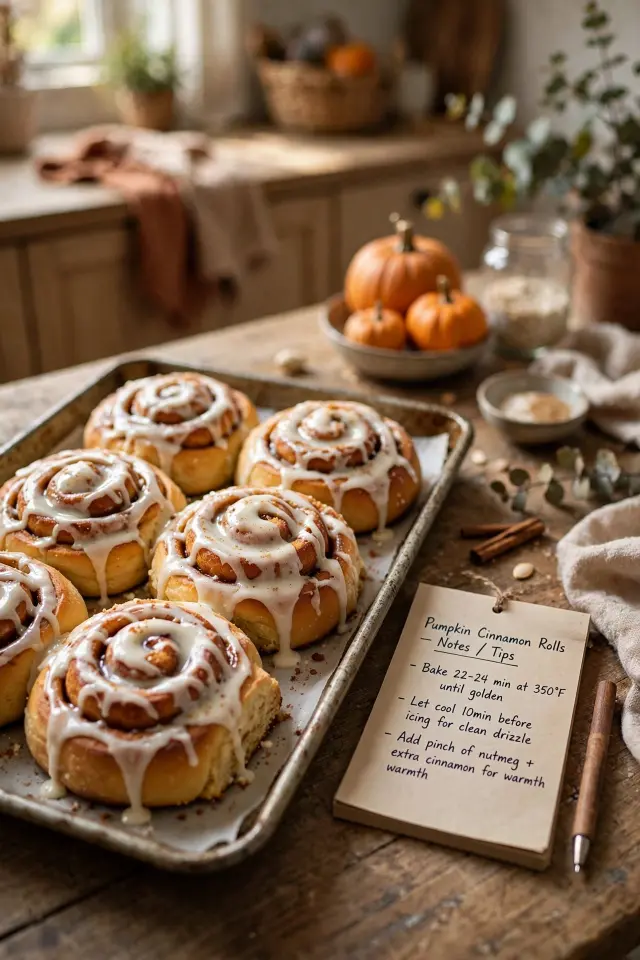
Getting soft, evenly baked rolls comes down to a few small details that are easy to overlook. Paying attention to dough texture, rising time, and pan placement makes the difference between good rolls and great ones.
That’s why experts always recommend measuring flour by weight instead of scooping with a cup, since too much flour leads to dense, dry rolls. If the filling leaks out during baking, it usually means the rolls were sliced too thin or the dough wasn’t rolled tightly enough, so aim for a firm, even log next time.
That’s the full article. Let me know if you’d like any section revised, or if you want a short intro/meta description added.
CONCLUSION
Now you have everything you need to make a batch of soft, spiced pumpkin cinnamon rolls that taste just as good as they smell. From mixing the dough to getting that perfect golden bake, each step in this pumpkin cinnamon rolls recipe is designed to help you succeed on the first try.
I’ve seen how making this one change, being patient with the rise time, can completely shift the result. Save this recipe on Pinterest so it’s ready for your next cozy morning, give it a try in your own kitchen, and pass it along to someone who could use a little fall comfort baking in their week.